

Do
you look through decorating books and magazines and wonder where people find
such spectacular lampshades? They are never like the basic junky shades
you get with your lamps. They always have an elegant trim or some special
touch, and definitely no plastic wrapping. Well, I'm sad to report that
for the thrifty shopper, they are probably nowhere near your budget, and even
more difficult to come by, as they are custom made. Custom lampshades are
valued at many hundreds of dollars and in some cases, thousands.

Am
I telling you this to depress you? Not at all. If you are anything
like me, I operate on the old adage, "where there's a will, there's a
way!" I admit, my home is pretty fancy, but much of it comes from
creative improvising.

Frustrated by just about every boring
lampshade that came with such beautiful lamps, I found a custom lampshade shop
on Manhattan's Upper East side. I spent well over. $500 for it. I
brought them the amount of silk fabric they required to cover a new custom made
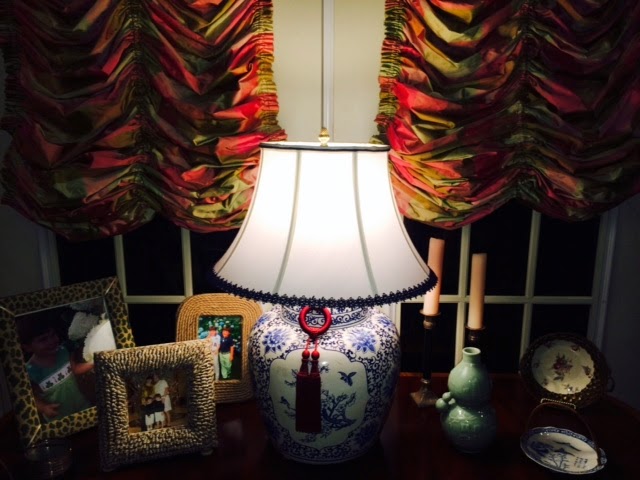
wire frame, but forgot to buy trim. On that note, the price began to
rise, as I could not resist the temptation of having a hand made, origami trim
made out of the same fabric. I had never seen anything like it before.
The fact that they were all hand stitched, not using a single ounce of
glue, it what impressed me even more. What can I say, I'm a sucker for
quality. I knew that purchasing anymore lampshades at that price was
simply out of the question, but I had so many lampshades filling my house that
I knew I couldn't settle for bland. This is exactly the type of scenario
when my juices start flowing. I started asking myself how I could
beautify lampshades on my on. After collecting inspiring decorating tare
sheets of lamps I loved, I began taking mental notes of the details. What
many of them had in common, was the elaborate way in which it was trimmed.
With that said, I set out to my local craft store which sold fabrics and
a variety of trims. I brought my lampshades along to get the size correct
and pick out some really beautiful trims.

When I arrived at home, I whipped out my glue gun, locked and
loaded a glue stick and wrangled up my lampshades and began trimming away.

It
couldn't have been more simple, cautiously going around the edges of the bottom
and the top of the lampshades and methodically placing the trim on top of the
glue. Thanks it, it's that simple!


Below
are additional photos of the lampshades I "doctored up!"
 |
|
My
latest: foyer chandelier project
|
 |
| Living Room |

Living Room

Living Room
 |
| Living Room |
 |
| Guest Bedroom |
 |
| Guest Bedroom |
 |
|
Master
Bedroom
|
 |
| Master Bedroom |
Jamie Gottschall
IndomitableStyle
No comments:
Post a Comment