

"Breakfast at Tiffany's" is such an incredibly eye catching theme that I have already reproduced it three times in three variations. The first was my son's first birthday party on Valentine's Day in 2005, the second was A True Blue Valentine segment on WFMZ Channel 69 News, and now for my girlfriend Jess' bridal shower, which is making its debut in the January 2014 issue of Lehigh Valley STYLE Magazine. (view it here)
Now to talk about the best way to make your best first impression. It's with the very first clue in a series of events to follow. No "Breakfast at Tiffany's" invitation would be complete without the image of Audrey Hepburn gracing the cover. I'm a self-proclaimed An Audrey-phile and so is the bride to be so I combed my book shelves for my "Audrey" look books. Eagerly, I flipped through one breathtaking picture of Audrey after another. It was a treasure trove of photos that led to many creative ideas. The first thing I did was run to Staples to make mass copies of all my favorite Audrey photos in different sizes.
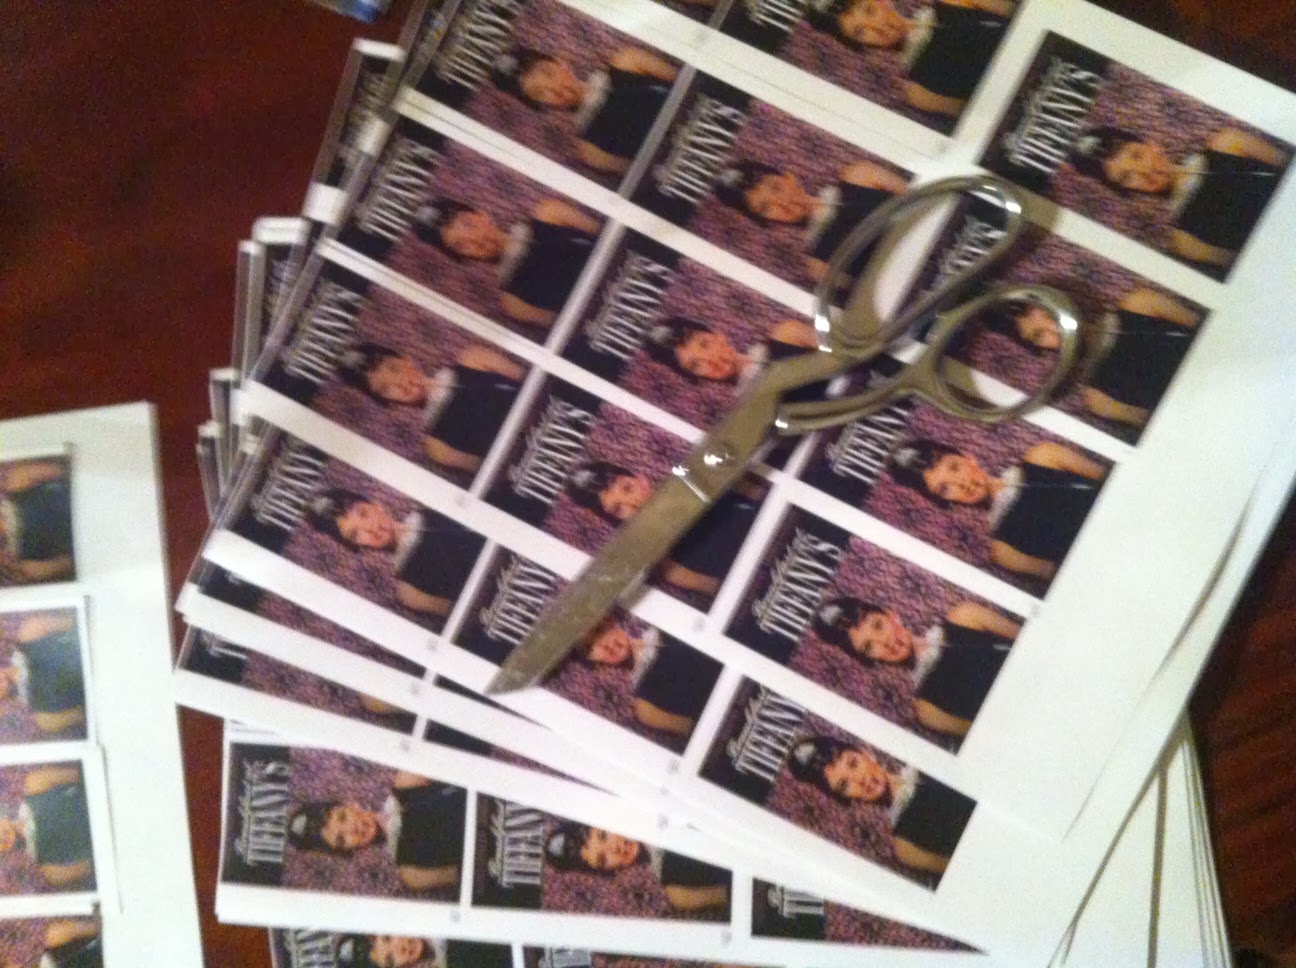 |
| Mass produced pictures of Audrey that I cut with a paper cutter for the front of the invitation |
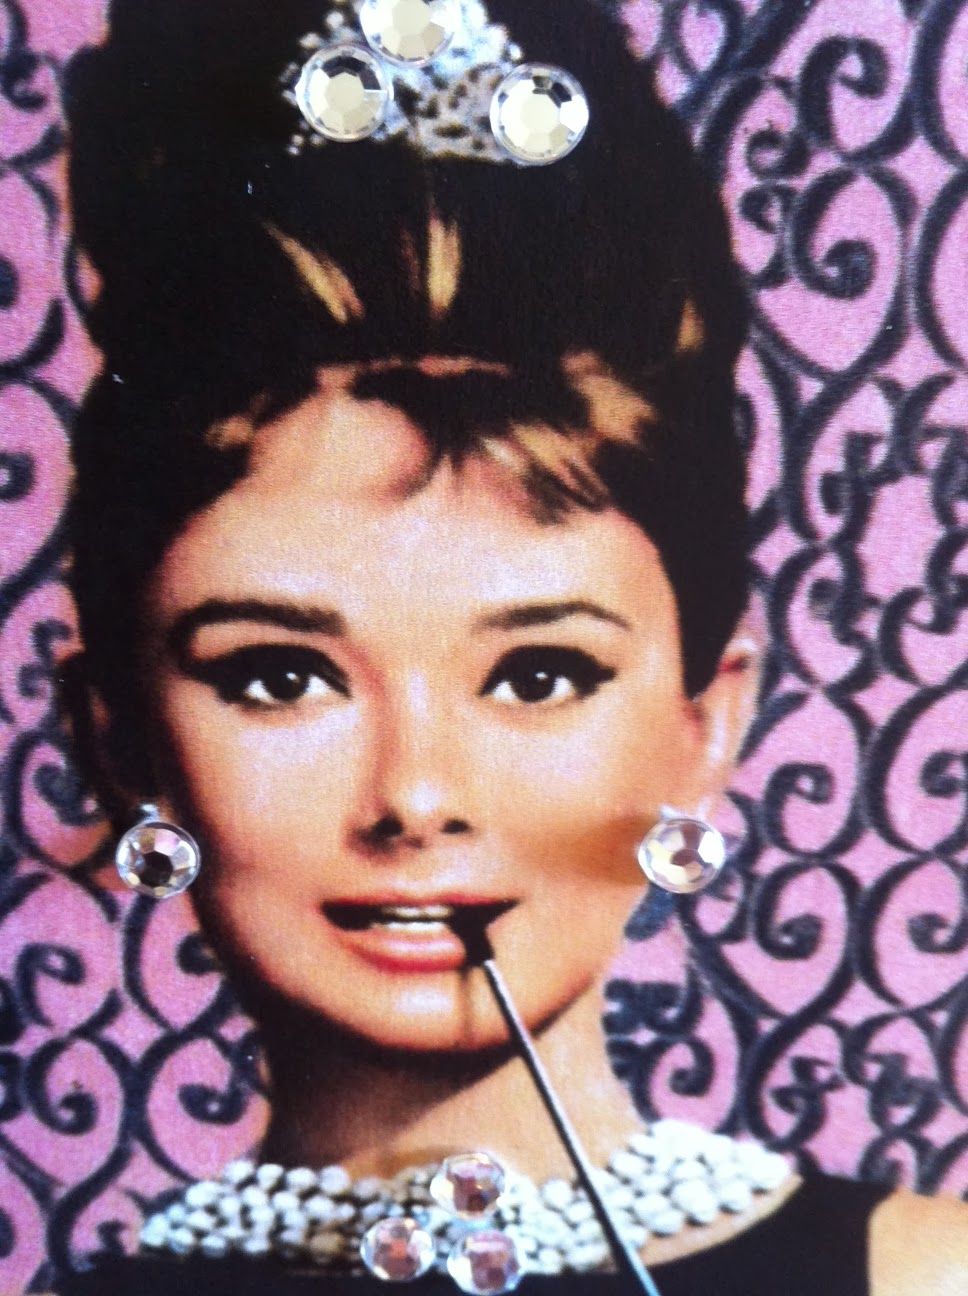 |
| I jeweled Audrey's necklace earring and tiara with self adhesive rhinestones to add dimension and sparkle |
 |
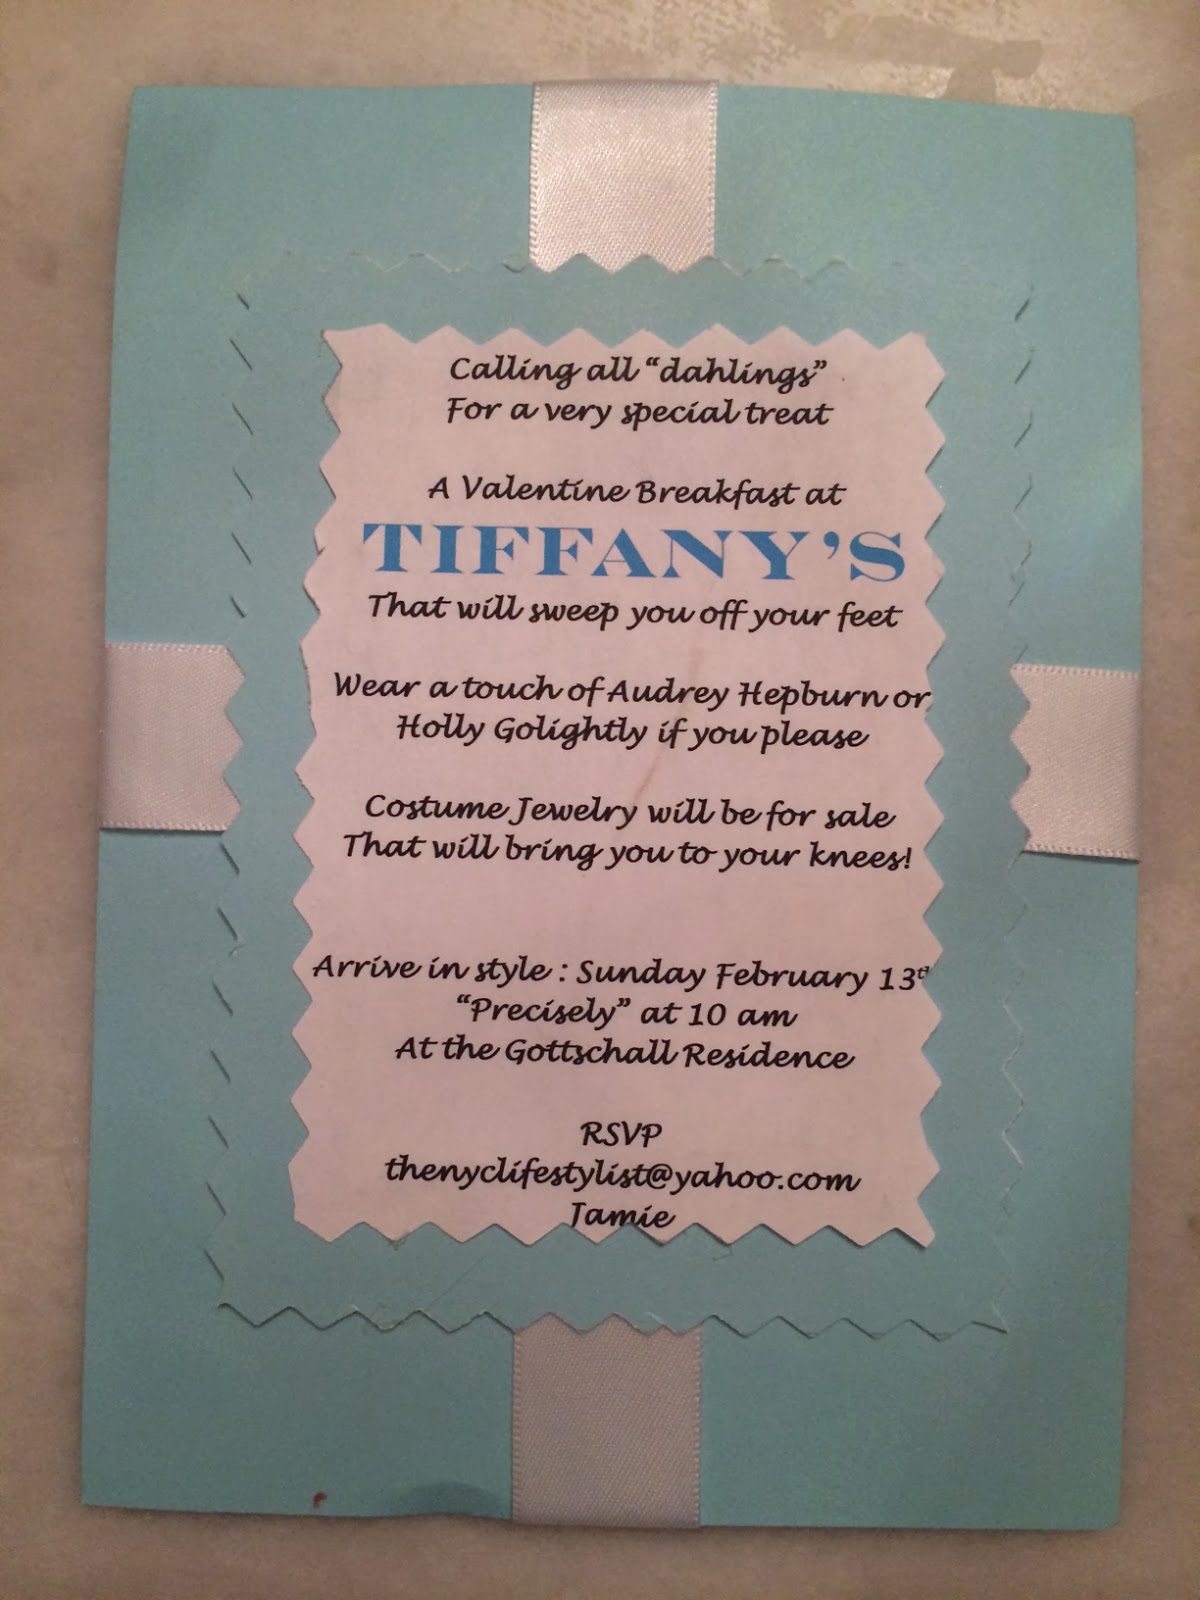
| Choose a Tiffany blue colored card stock. Using a glue stick, attach the card stock to the back of the photo. Cut around the edge of the picture either leaving a border or not, depending on the invitation style you choose |
 |
Punch a hole in the upper left corner of the invitation, run a silk ribbon through it, add a faux engagement ring from the craft store, and secure in a bow. I chose to trim the edge of the invitation with thin white gingerbread rick rack trim
|
 |
| A candy hear box from the doller store was embellished with a heart shaped Tiffany blue back drop glued to box top. Then I cut a lace doily into a heart shape, placed a picture of Audrey and her co-star in the center with a glue stick and glued tiny rick rack trim around their image with a hot glue gun, and added the self adhesive rhinestones to her jewelry and tiara. |
 |
| The sides of the candy box are wrapped with a blue silk and a wide rick rack ribbon |
 |
| Inside, your surprise awaits! A beautiful invitation with chocolates beneath |
 |
Undercover: Trace the box lid on blue card stock to make the shape and size of the inside lid. This is embellished with a mini doily, on top of a self adhesive decorative heart topped with a self adhesive rhinestone. Everything is reinforced with a touch of hot glue. I used pinking shears in different patterns to make the unique scalloped edges.
|
 |
| The invitation is printed on vellum, which was traced into a heart shape (use the box to trace the shape. Beneath is blue card stock cut into a heart shape with scalloped pinking shears. Place them on top of each other and then punch 2 holes flanking the "V" at the top center of the heart. Feed both ends of a thin rick rack trim through the back side of the invitation then tie a bow in the front. |

 |
| Thin rick rack trim adds a finishing touch to the red border at the bottom of the box |
 |
A sweet treat is hidden beneath the invitation
|
 |
| In this example, I chose a black and white, (most memorable photo) of Audrey, having her "Breakfast at Tiffany's." Blue card stock is the back drop. I assembled this simply. I placed the photo, which I trimmed with small white rick rack with hot glue, and placed it on the large blue card stock (I DID NOT GLUE CLOSE TO THE "CENTER" EDGES OF THE PHOTO TO LEAVE ROOM TO PLACE WHITE SILK RIBBON ENDS BENEATH THE PHOTO). Place a dab of glue on one bottom end of silk ribbon and put it under the horizontal ( left-right) center of the picture. Wrap the ribbon around the back of the card stock, across to the opposite side, and around to the front, repeating the step of gluing the end beneath the opposite side of the photo (trim as necessary). Repeat this process in the vertical direction (up & down). |
 |
When the ribbon is fastened, I used a glue stick on the back of a smaller piece of blue card stock. I cut the edge to give it some texture with zig zag pinking shears, placed and glued a computer printed invitation (even smaller) on top. Layering gives the invitation a quality look.
|
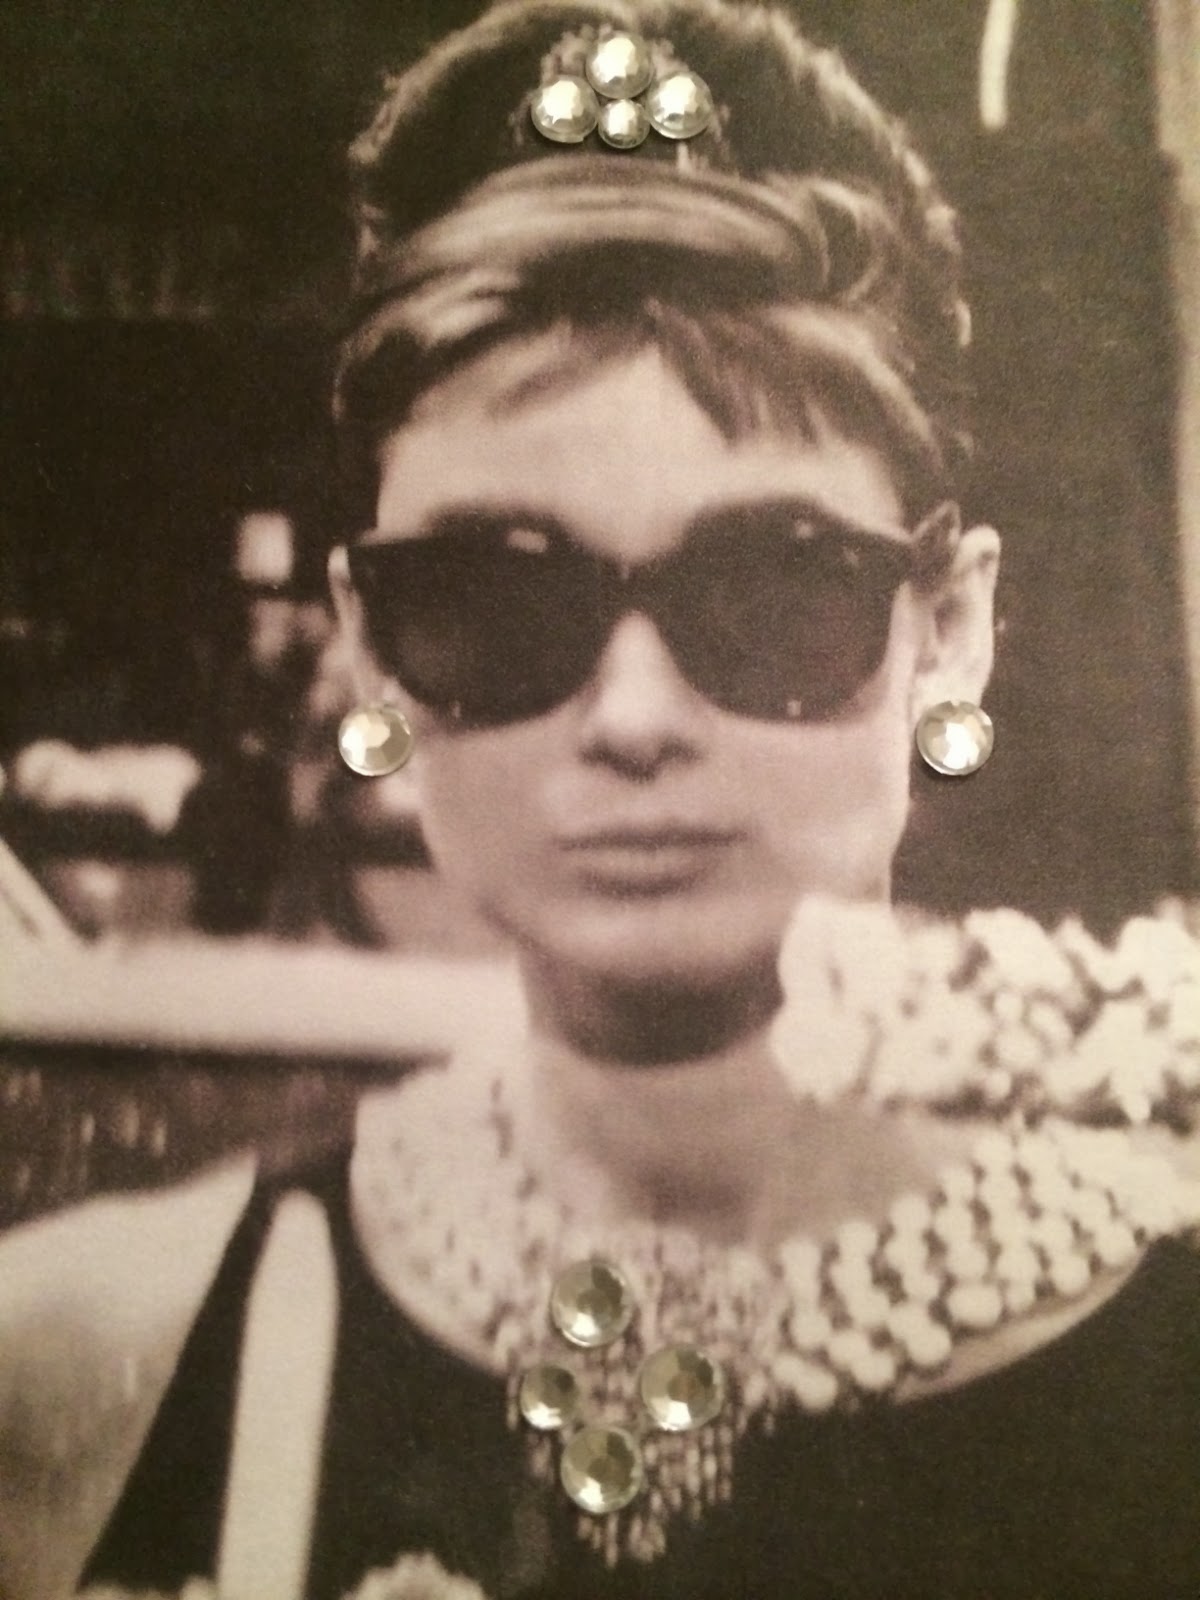 |
| Don't forget to place self adhesive mini rhinestones to Audrey's tiara, necklace and earrings! |


Jamie Gottschall
The NYClifestylist
I attended a few company events here and I must say that I was impressed every time. Their halls and rooms are absolutely gorgeous.
ReplyDeleteBoston venues